If you haven't already tried bead embroidery, I
highly recommend that you do... Or, if you don't like getting addicted to things, then I highly recommend that you don't! I lost my mojo for a fair while, but I won the Pass the Parcel present on Bead Buddies in May from Aster (visit her blog here) and it was this stunning selection:
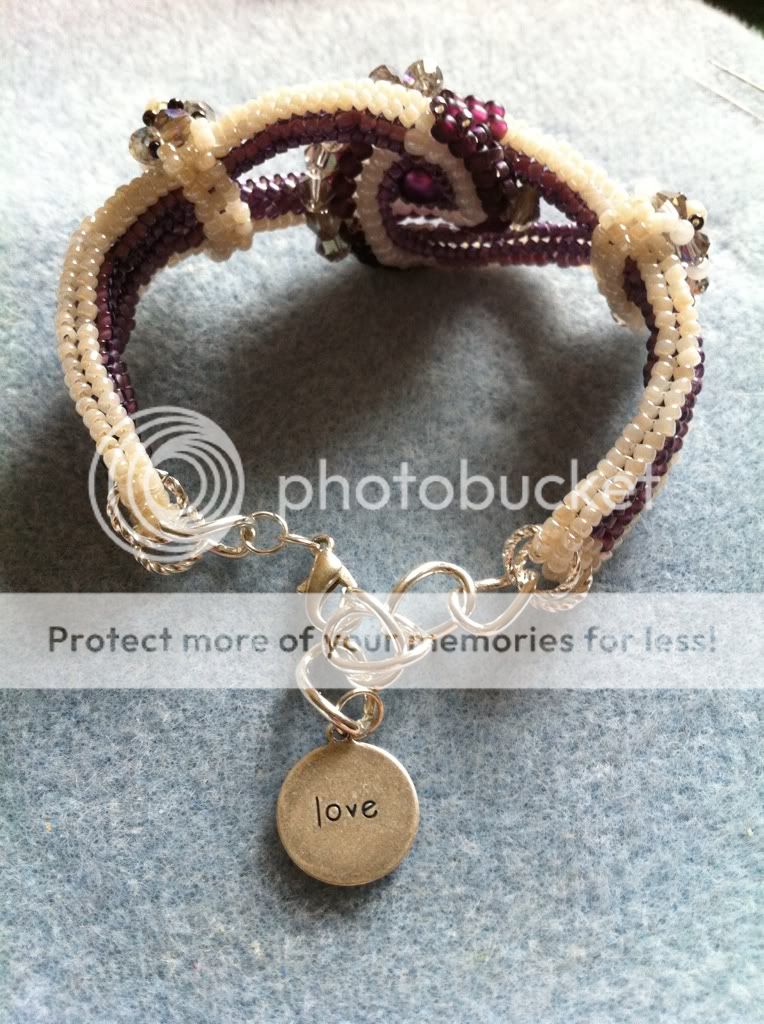
As soon as I received the package the creativity came back with a vengeance and ideas were swimming about. First though I made a bracelet for my mum's birthday (which is today, so I can now share it!) It's a piece from Beadwork Feb/March if you're interested in making it. I think mum was chuffed with it.
So, onto the point of this post - I'd like to share with you all the process of my latest beaded endeavour. Here's what I've got so far:
None of these components are stitched together yet, they will be once I have embroidered around the final three components. The main thing that I can say to anybody who wants to try embroidery of this form is that anything is possible, expect to spend hours adjusting and re-adjusting, expanding, embellishing and staring at the finished piece. There is something so satisfying about the freeform element to working this way, you can make your piece as smooth or textured, symmetrical or quirky, covered with beads or minimalist as you like. Every piece of embroidery can only ever be a one off!
The first point of call is to have a plan (however vague) of what you think you want your final piece to look like. In this case I was messing around with the layout of the stones and took a photo so that I knew what I was aiming for. It looked like the picture above just with none of the beading done! We'll start with the biggest stone, and work our way through. If your stone has no hole like this one, get some glue - I would recommend E6000 - and stick to your backing (Lacey's Stiff Stuff / Nicole's Bead Backing / stiff felt). You'll need to leave a reasonable amount of space when you cut around the stone but this is entirely down to you and how much beading you want to do around it. Because this is a steeper stone than some, I have opted to do the first row around the stone in 4mm bicones.

When using crystals, always try to use Fireline or similar thread - I did manage to cut a thread on my second component, they can be tricky blighters! I would also recommend adding one crystal at a time, for this one I added two, went back through both, added one, went back through all three, added one, went back through all four, added one, and continued to go back through 4 crystals - this way you are strengthening as you go along, and it will reduce the number of passes you need to make all the way around at the end.
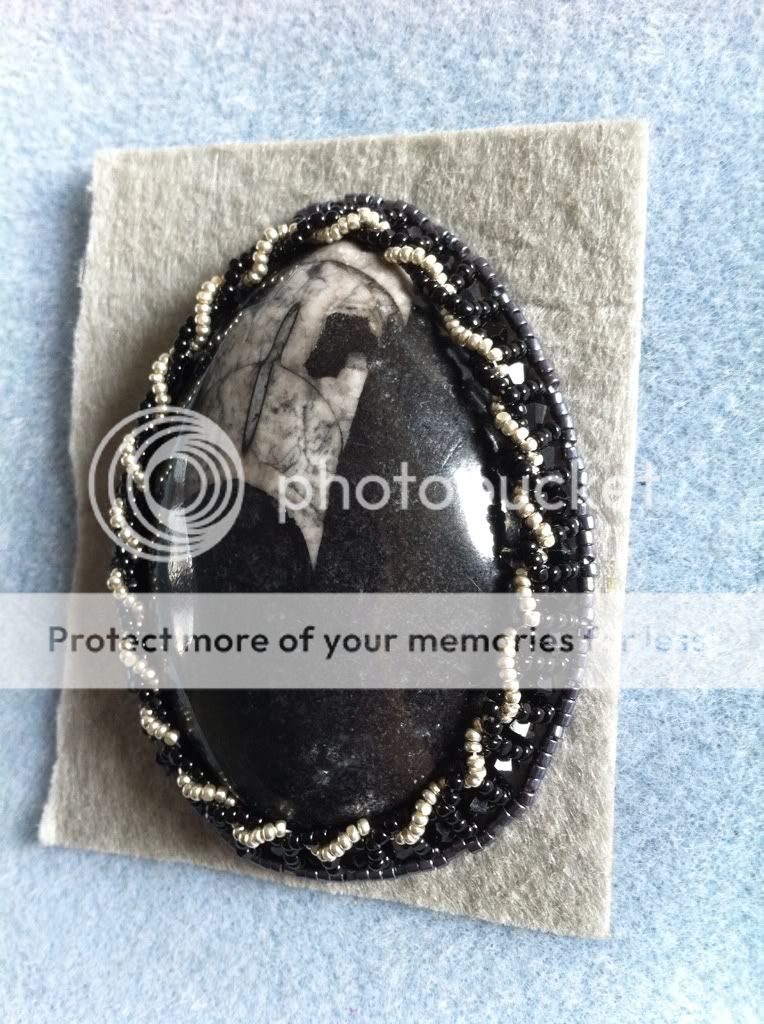
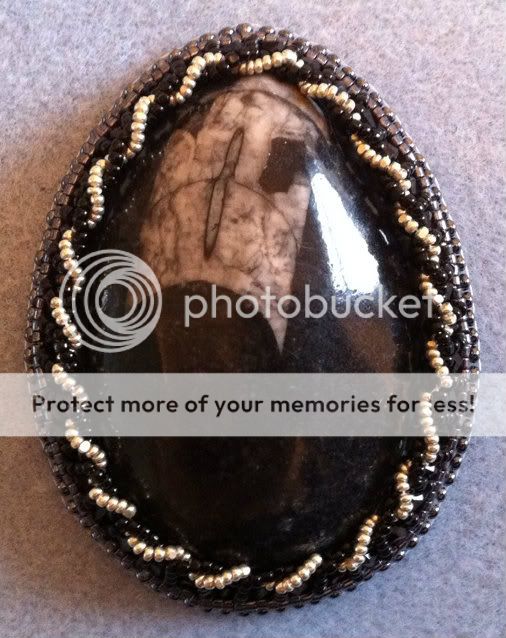
Here I have gone around adding stacks of seed beads around the outside of the bicones, each stack is stitched from behind the backing, coming up and going back down and along to the next. You may notice that the stacks are alternately topped with black and silver - this is the basis for the twisted bezel you can see in the original photo.
This way you see the sparkle at the side! You can find full instructions for the twisted bezel in any good embroidery book, but I may save that for a rainy day to share with you - if you would like any help just drop me a message. You must always be prepared in bead embroidery to amend as you go, and for this part that meant adjusting the number of beads in some stacks and some sections of the twist to account for the shape and height of the stone. Next we will tidy up the edge of the stone, I've used delicas.

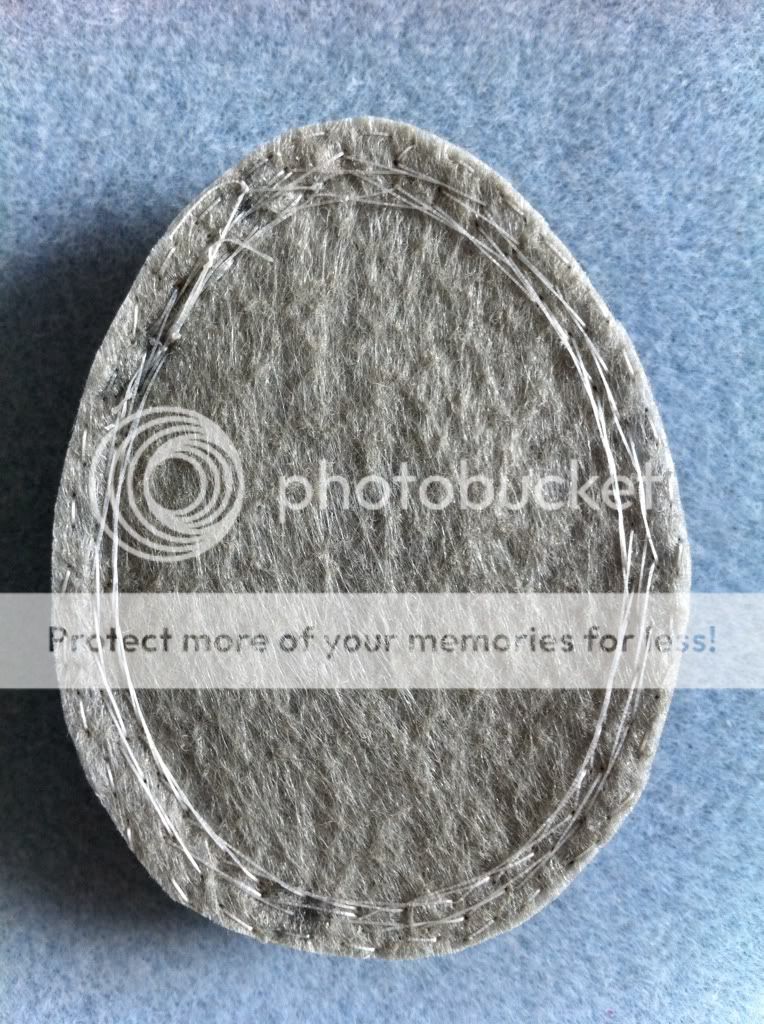
I suggest using 4 delicas and coming up in between the second and third, and then adding four each time doing the same. You'll notice that to start with the round may not be very straight, but once you get back around to the first beads added, thread through all of the beads until you can't get your needle through any more - this will line all of the beads up and make for a cleaner line once the holes are filled. Once you have embroidered all that you want to around the bead or stone, it's time to cut the shape out. The back of your stone (in this case) wil
l look a bit like this:
Have confidence in your beading, I am of the school of reinforce, reinforce, reinforce, and in this picture you can see my knots - if you think you've done enough knots, do a couple more, and then seal with clear nail varnish. This will be made even more safe when we put the backing on. Cut as close as you dare around your beading. I was always told to leave 4-5mm around my beading but I'm very fussy about how much of the backing I can see on a finished piece, so I cut mine as close as I possibly can without endangering the security of the beadwork.
Now you need to get your suede backing and draw a template so that you can make your pieces beautiful and comfortable to wear. You'll need to put a dab of glue onto the back of the stone, I normally use E6000 but didn't have any and found that PVA works just as well - it only needs to hold the pieces together whilst you stitch!
Once they're stuck together, trim so that the suede is as level as possible with the backing to make for the best edging possible.
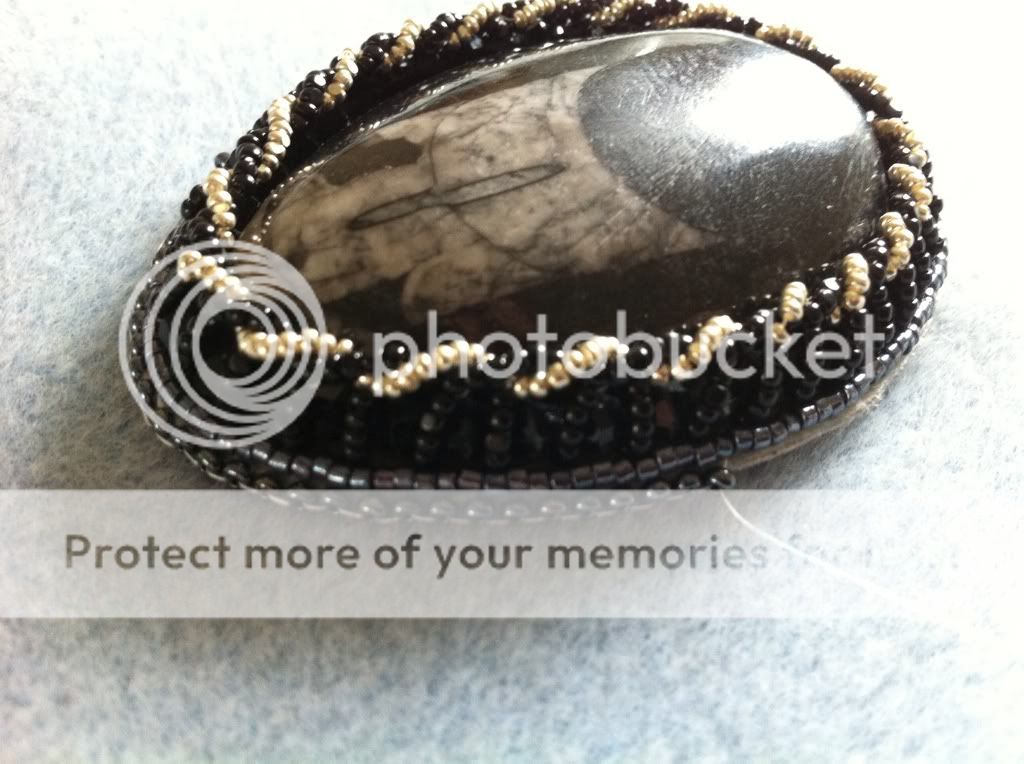
Now you can start beading the edge! I've used size 11 miyuki beads in the same colour as my delicas, this is what will bring my final piece together as all components will be edged in these. Start by coming up from between the backing and the suede and add two beads. You'll need to move along by 1-2mm and thread through both pieces, and back up through the second bead added. From here, you'll add one bead at a time and work your way around the final piece:
Here's the finished piece, which will be put to one side until they're all done and then embellished further once all components are stitched together.
If you've made it this far, I'll be back soon with component number two (a little more brief next time!) I hope this can be of some help to somebody!


1 comment:
Great post! I have been exploring embroidery myself and I agree with everything!
Post a Comment